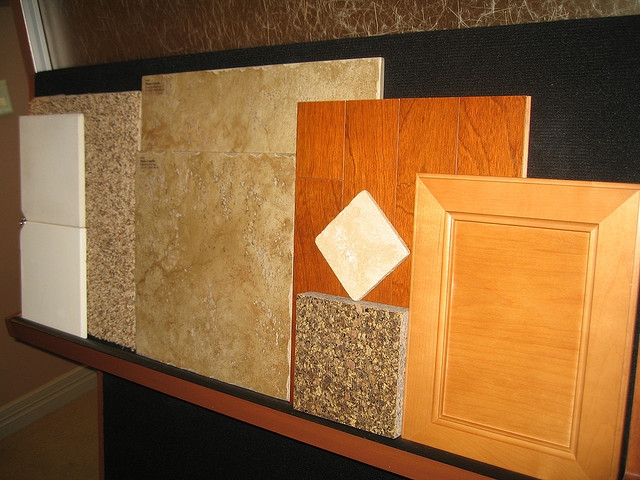
Before we go through any of the steps to install a new vinyl tile backsplash for the kitchen, here are the materials & tools you will need:
Materials
- Vinyl Tile
- Masking Tape
- Outlet Cover Screws
- Newspaper
- Decorative Outlet Covers
Tools
- Tile Cutter
- Level
- Ruler
- Screw Driver
- Measuring Tape
- Marker
Now, lets go through the step-by-step process to ensure this kitchen backsplash installation goes smoothly.
Step 1 : Visit Local Hardware Store
Take a trip to your local hardware store and scope out the vinyl tile that you can find inside. Do not be afraid to take home some different samples (individual tiles usually go for under $2).
Also, select new outlet covers when getting prepared for this project. This is a great way to add some style in your kitchen. Make sure you have extra screws and know how many switch plates you will need. It is always better to have more materials than run out and have to make another trip to the store.
Step 2 : Outline a Master Copy
A master copy of your project will make the installation of this project much easier. This template can go on the floor and should include all electrical outlets and switch plate locations. Craft paper/newspaper work great for a template for this backsplash kitchen remodel. Remember, if you "fail to plan," you, "plan to fail."
Step 3 : Lay out Tiles
Begin to lay your individual pieces of tile out onto your master copy. This will help give you an understanding of how the tile pieces will be positioned on your wall. Full tiles will allow for the best looking backsplash.
Remember to remove all outlet covers & switch plates before beginning the install.
Step 4 : Cut Tiles
Vinyl tile is easy to cut making this step much less stressful. To cut, use a tile cutter or straight edge plus a utility knife. Install your new outlet covers when all the tiles are completed.
Step 5 : Adhere Tiles to Wall
The final step of this installation process will have you placing your tiles onto the wall. It is imperative you check with a level to see that you are placing the tile onto the wall properly. Use a rolling pin to give the adhesive the stick you need to press the tiles into the wall. If you follow these directions step by step, your kitchen will have a great looking new backsplash in no time. Note: Each manufacturer varies with their installation guidelines and materials.
Check out the full article with the link below!
